Needle felting is one of the most relaxing and creative fiber arts you can learn at home. With just a few simple tools and some wool, you can turn loose fibers into detailed sculptures, cute animals, ornaments, or decorative art pieces. Whether you’re looking for a new hobby, a stress-relieving craft, or a way to make handmade gifts, needle felting is a rewarding skill that anyone can pick up.
In this guide, you’ll learn exactly how to needle felt, what tools you need, beginner-friendly techniques, and how to avoid common mistakes.
What Is Needle Felting?
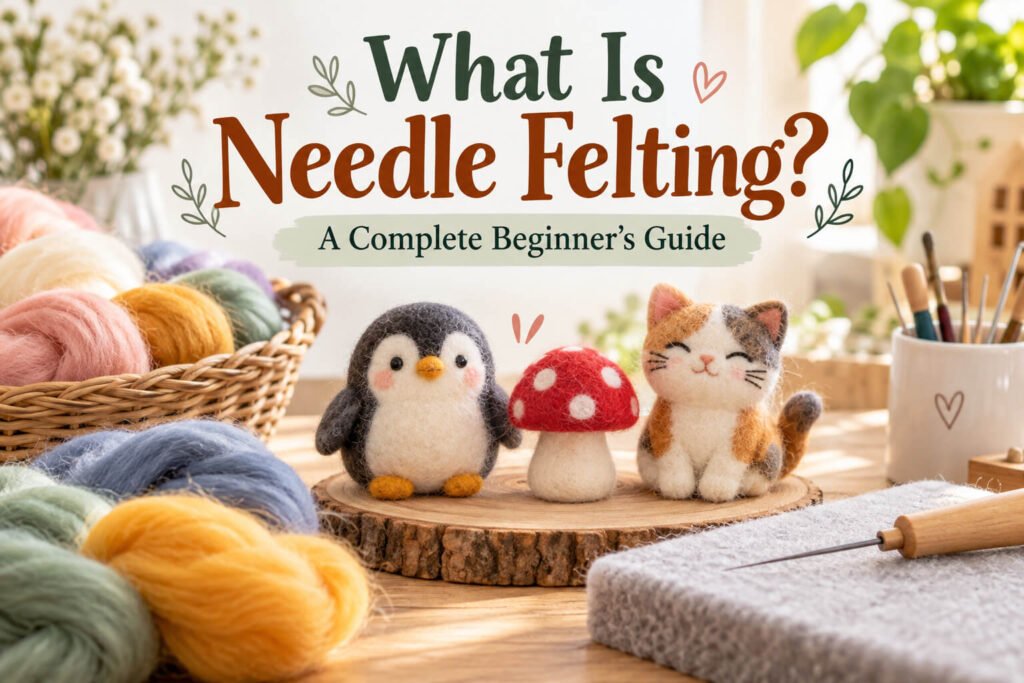
Needle felting is a crafting technique that uses a special barbed needle to repeatedly poke wool fibers. Each time you poke the wool, the fibers tangle and compress together, gradually forming a solid shape.
Unlike wet felting, which uses soap and water, needle felting is completely dry and requires only wool and needles. This makes it ideal for beginners because it’s clean, simple, and easy to control.
Artists use needle felting to create:
- Cute animals and figurines
- Mini food replicas
- Home décor items
- Jewelry pieces
- Holiday ornaments
Essential Needle Felting Supplies
Before you begin learning how to needle felt, you’ll need a few basic tools. Luckily, the starter kit is inexpensive and easy to find.
Wool Roving or Batting
This is the main material used in needle felting. It’s unspun wool that looks fluffy and soft. The fibers are what you shape into your design.
- Merino wool is great for beginners
- Corriedale wool holds shape well
- Colored wool helps you add details easily
Felting Needles
Felting needles are sharp, barbed metal needles designed to tangle wool fibers.
- Coarse needles: For shaping and sculpting
- Medium needles: For general felting
- Fine needles: For detailing and smoothing
Foam Pad or Felting Mat
This protects your hands and surfaces while you work. It also prevents the needle from breaking.
Optional Tools
- Finger protectors
- Wooden needle holders
- Eyes/noses for animal figures
- Wire armature (for complex shapes)
How to Needle Felt Step-by-Step
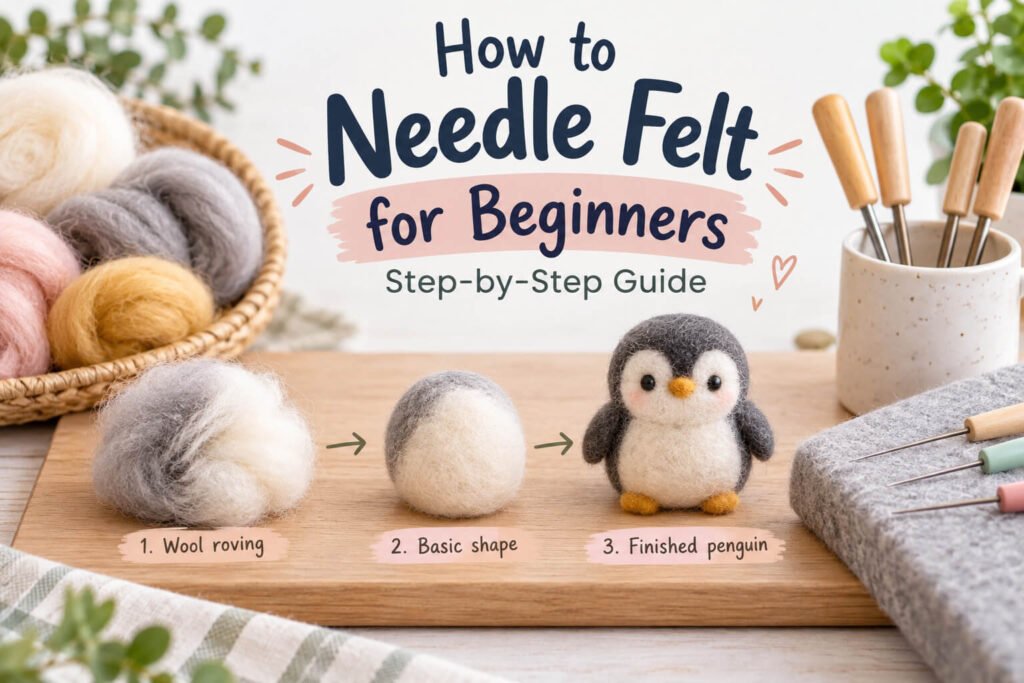
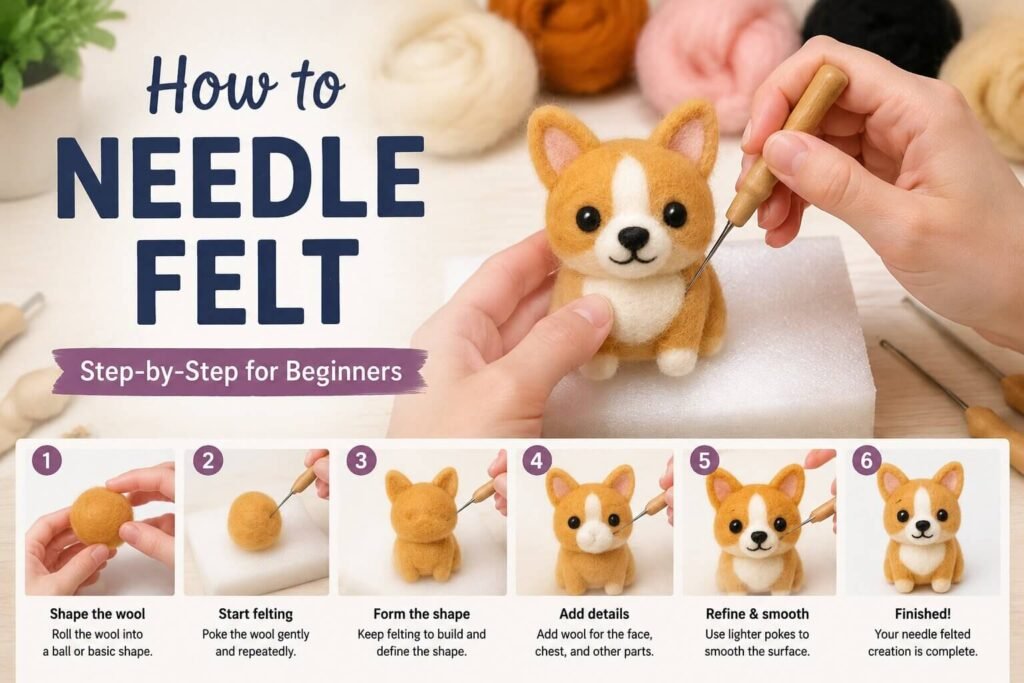
Now let’s break down the actual process of needle felting from start to finish.
Step 1: Pull and Fluff the Wool
Start by pulling off a small amount of wool roving. Don’t use too much at once—needle felting works best in layers.
Fluff the wool slightly so it’s airy and easier to shape.
Step 2: Start Shaping Your Base Form
Roll or compress the wool into a rough shape using your hands. For example:
- A ball for a head
- An oval for a body
- A cone for an animal snout
This step doesn’t need to be perfect—it’s just your foundation.
Step 3: Begin Poking with the Felting Needle
Place your wool on the foam pad and begin poking it repeatedly with your felting needle.
- Push straight in and pull straight out
- Avoid bending the needle
- Rotate your piece as you work
At first, the wool will feel loose, but after repeated poking, it will start to firm up.
Step 4: Build Layers and Refine Shape
Once your base shape is firm, add more wool on top to refine details.
For example:
- Add ears to a bunny
- Build a snout for a dog
- Shape arms or legs
Continue poking until the added wool blends smoothly into the base.
Step 5: Add Details and Texture
This is where your creation comes to life. Use a fine needle to add small details like:
- Facial expressions
- Fur texture
- Indentations or curves
- Color blending
The more time you spend here, the more realistic your piece will look.
Beginner Needle Felting Techniques
Learning a few simple techniques will help you improve faster.
Layering Technique
Always start with a core shape and build outward. This prevents your sculpture from becoming too soft or uneven.
Poking Control
Quick, controlled pokes work best. Don’t force the needle—it should glide in and out smoothly.
Blending Colors
To mix colors naturally:
- Layer thin wool sheets
- Lightly felt them together
- Avoid over-poking early on
Common Beginner Mistakes (and How to Avoid Them)
Using Too Much Wool
More wool does NOT mean faster results. Start small and build up slowly.
Over-Felting
If you poke too much, wool becomes overly dense and hard to adjust. Stop once the shape is firm.
Breaking Needles
Needle felting needles are fragile. Always poke straight and avoid twisting.
Skipping the Base Shape
If you don’t create a solid foundation first, your final sculpture may collapse or become uneven.
Easy Needle Felting Projects for Beginners
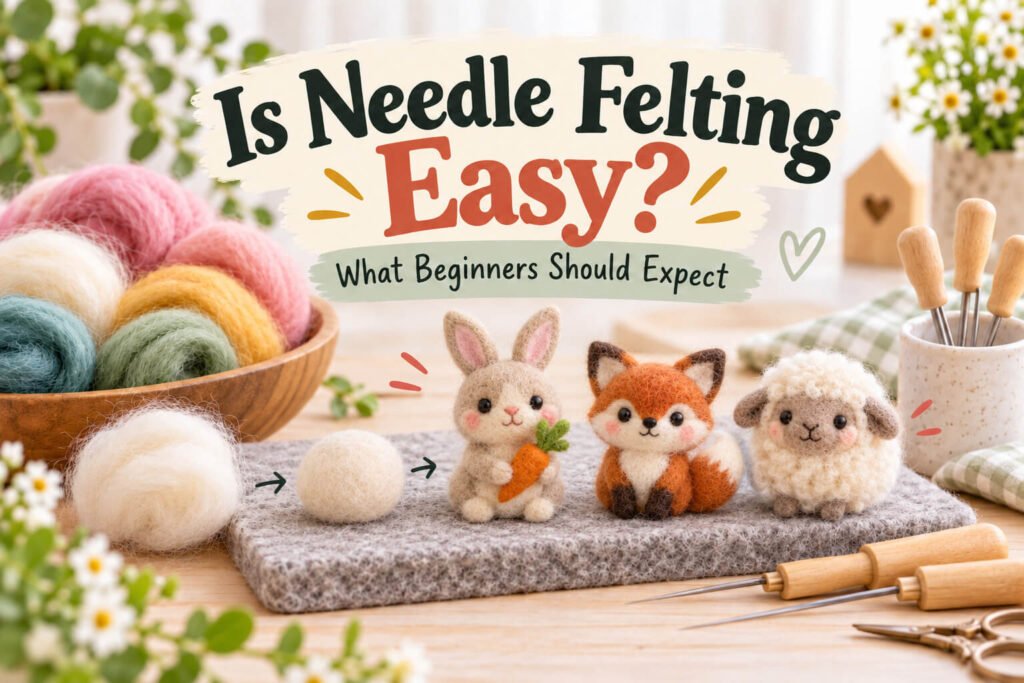
If you’re just learning how to needle felt, start with simple projects like:
Felt Balls
Great for ornaments, bracelets, or keychains.
Mini Animals
Try basic shapes like:
- Cats
- Bears
- Sheep
Simple Food Shapes
- Strawberries
- Donuts
- Ice cream scoops
These help you practice shaping and layering without pressure.
Tips to Improve Your Needle Felting Skills
- Practice daily for faster improvement
- Watch your finger placement for safety
- Keep your wool organized by color
- Start small before moving to complex sculptures
- Use reference images for accuracy
Like any craft, needle felting gets easier and more enjoyable the more you practice.
Why Needle Felting Is So Popular
People love needle felting because it is:
- Relaxing and stress-relieving
- Affordable to start
- Highly creative and customizable
- Great for handmade gifts
- Suitable for all ages
It also doesn’t require screens or complicated equipment, making it a perfect offline hobby.
Final Thoughts
Now that you know how to needle felt, you can start experimenting with your own designs. The key is to begin simple, practice often, and enjoy the process. Even your first creations will have charm, and your skills will improve quickly with time.
Whether you’re making cute animals, decorative art, or personalized gifts, needle felting is a fun and satisfying craft that lets your imagination come to life—one poke at a time.