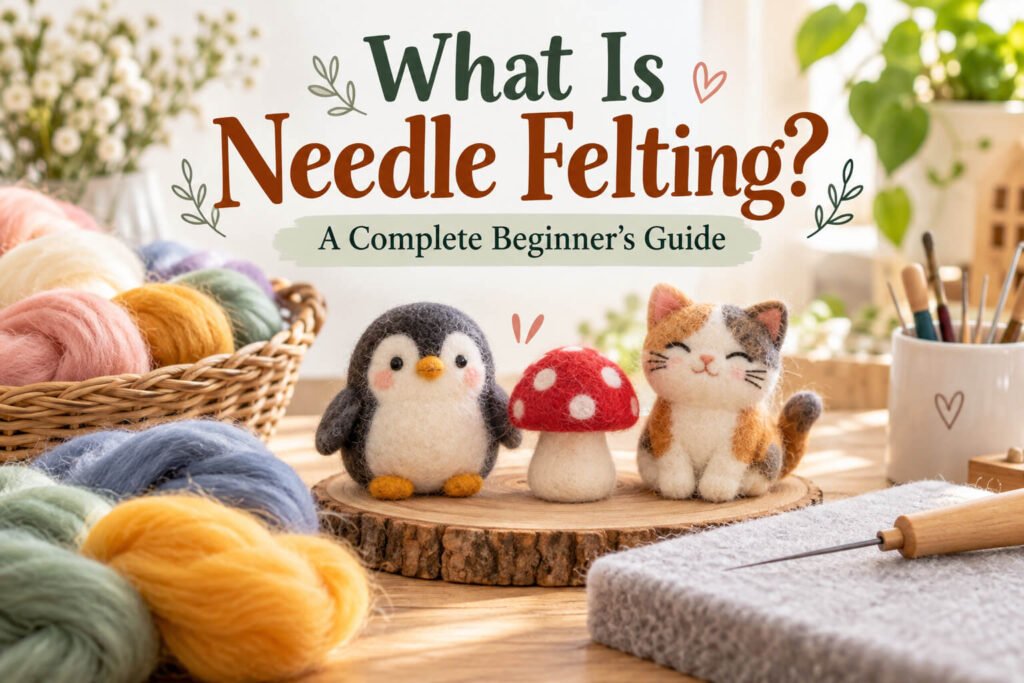
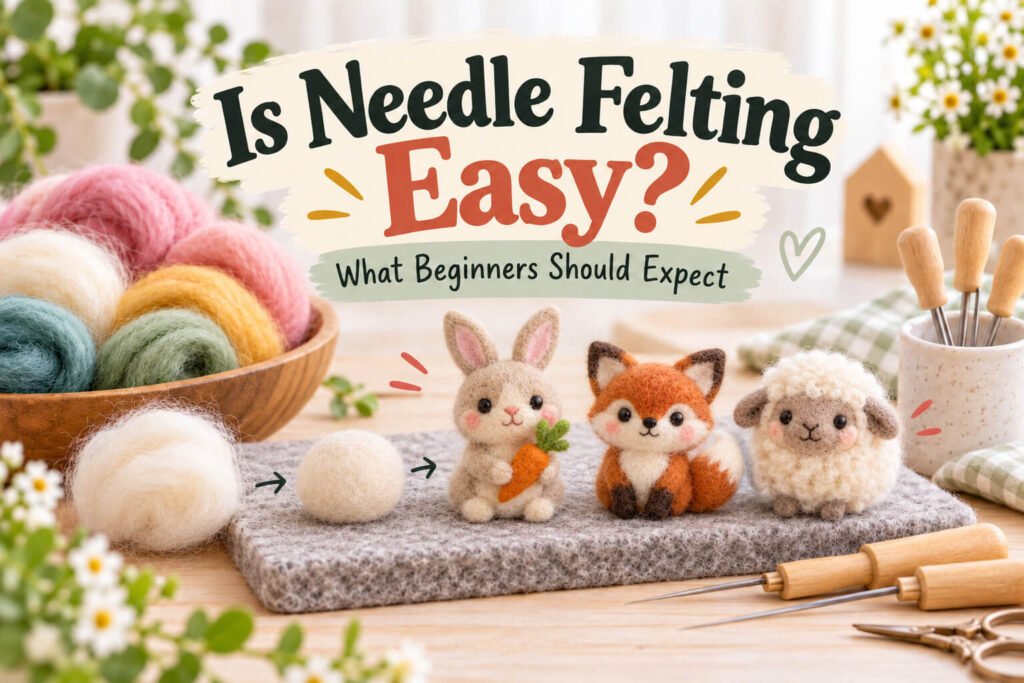
Needle felting is an enjoyable way to turn loose wool into animals, decorations, miniatures, and fiber art. One of the reasons it is so appealing to beginners is that you can start with only a few basic supplies.
The fundamental technique is straightforward: a special barbed needle is repeatedly pushed into wool, causing the fibers to tangle together and become firmer.
If you have never seen the process before, you may want to begin with our introduction to
what needle felting is. Once you understand the basic idea, you are ready to begin.
Step 1: Gather Your Needle Felting Supplies
You do not need a large collection of tools.
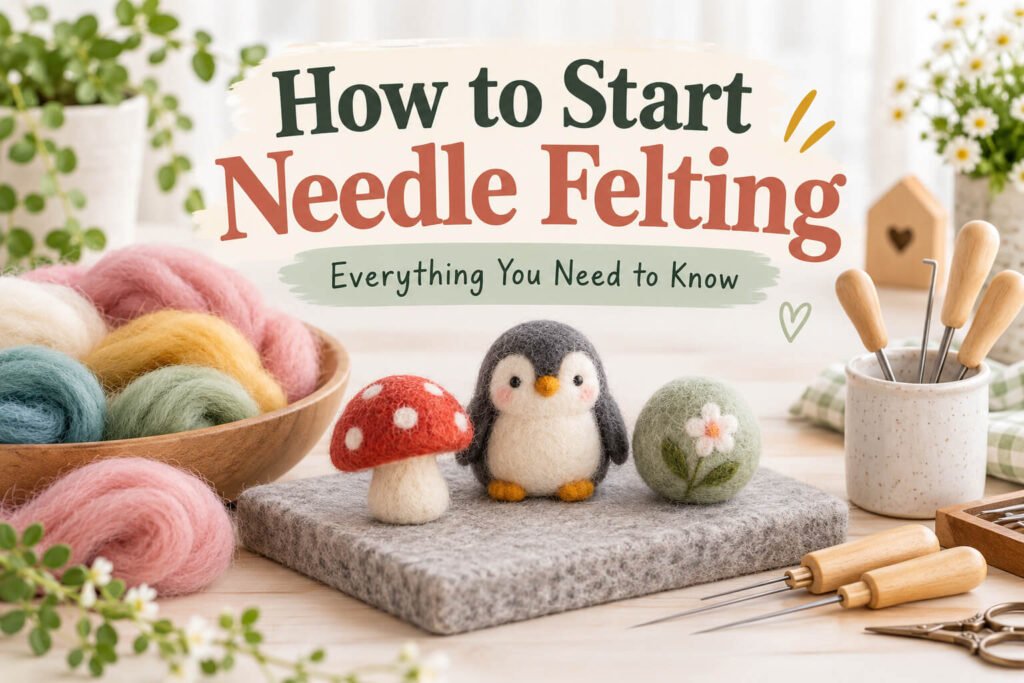
A basic setup includes felting wool, felting needles, and a protective work surface.
You may also want finger protectors, small scissors, or a needle holder.
Your first project will be easier if you prepare everything before you begin.
If you are unsure exactly what to purchase, our
beginner needle felting supply checklist explains which materials are essential and which tools can wait.
Step 2: Choose an Easy First Project
Avoid starting with a complicated realistic animal.
Choose something based on simple shapes.
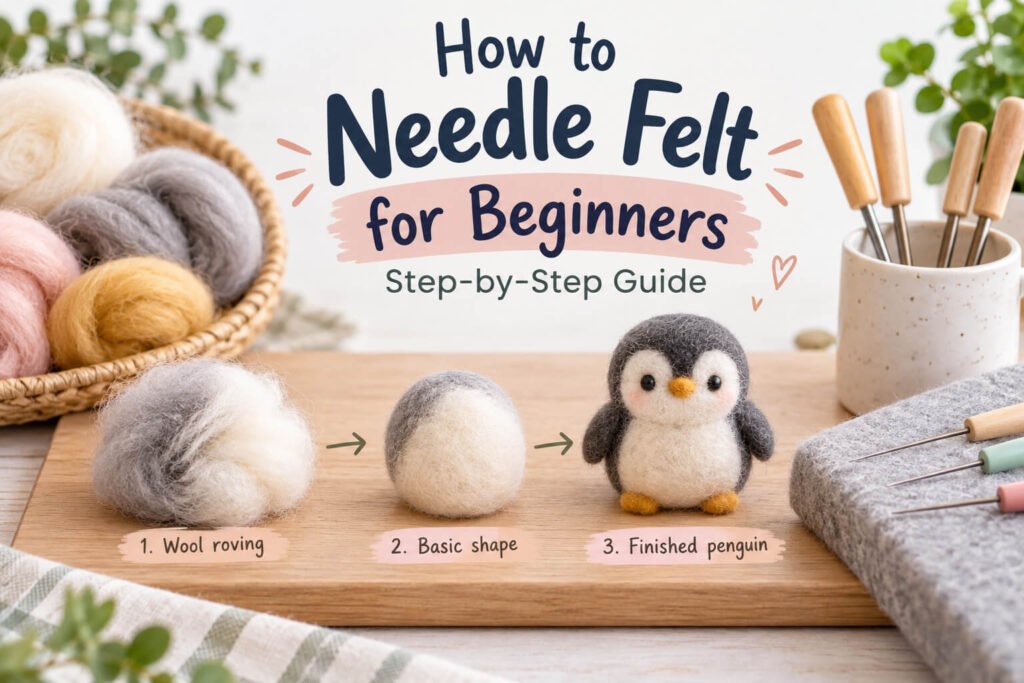
Good first projects include a ball, heart, mushroom, penguin, owl, pumpkin, snowman, or small sheep.
These projects teach the same basic skills you will later use to make more complicated animals.
Browse our
easy needle felting projects for beginners if you need inspiration.
Step 3: Prepare the Wool
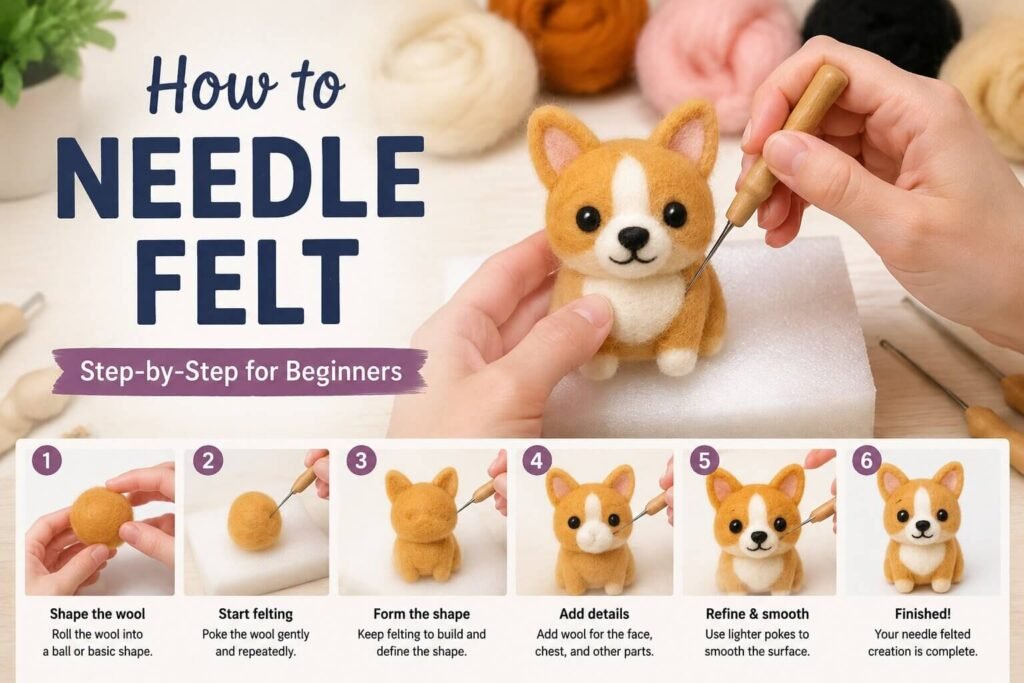
Pull off a small amount of wool.
Beginners often start with too much.
Remember that fluffy wool will become much smaller as it is felted.
Roll or fold the fiber loosely into the approximate shape you want.
Do not worry about making it perfect with your hands. The needle will do most of the shaping.
Step 4: Place the Wool on Your Felting Mat
Never hold a loose beginner project directly in your palm while repeatedly felting it.
Place the wool on a foam or wool felting pad.
The mat protects your table and gives the needle somewhere safe to go if it passes all the way through the project.
Step 5: Start Felting
Hold your needle securely.
Insert it into the wool and pull it back out along approximately the same path.
Repeat the motion.
Do not twist or bend the needle while it is inside the wool.
Rotate your project frequently.
As you continue working, the wool will become denser and the shape will become easier to control.
If you are interested in why this happens, our guide to
how needle felting works explains what the barbs are doing to the wool fibers.
Step 6: Shape Your Project
Needle felting is controlled compression.
The more you felt one area, the smaller and firmer that area becomes.
This means you can intentionally sculpt your project.
To create a rounded shape, rotate the wool frequently.
To create a flatter section, concentrate your work on that surface.
To make an indentation, repeatedly work one specific area.
Step 7: Add More Wool When Needed
One of the best things about needle felting is that you can add material.
If a cheek is too small, add a small tuft of wool.
If an animal’s body is too thin, wrap a little additional fiber around it.
Felt the new fibers into the existing surface until they become part of the shape.
This is why it is usually better to start with less wool.
If you are buying supplies for a project, our guide to
how much wool you need for needle felting can help you estimate your materials.
Step 8: Make Separate Pieces
Animals are often easier to construct in sections.
You might create the body first and then make the head, ears, legs, tail, or wings separately.
When making a piece that will later be attached, leave some wool loose at the attachment point.
Those loose fibers help connect the parts.
Step 9: Attach the Pieces
Position the new piece against the main body.
Use your needle to repeatedly work the loose fibers into the main sculpture.
Continue until the connection feels secure.
If necessary, place a thin layer of matching wool over the joint and felt it into both sides.
This can create a smoother transition.
Step 10: Add Surface Color
Many three-dimensional sculptures begin with neutral core wool.
Once the main form is correct, cover it with a thinner layer of colored wool.
This can save decorative fiber and make it easier to adjust your core before adding the final coat.
Step 11: Add Small Details
Wait until the overall shape looks correct before adding eyes, noses, markings, mouths, and other details.
Use very small amounts of wool.
Beginners often make facial features too large because even a tiny amount of loose fiber can feel insignificant before it is felted.
You can always add more.
Step 12: Finish the Surface
A beginner project may look fuzzy.
This is normal.
Use controlled, lighter needle work across the surface to refine the finish.
A finer needle can be useful for this stage.
Do not spend too much time smoothing an area until you are sure the shape and proportions are correct.
How Firm Should Needle Felting Be?
The project should hold its shape when handled gently.
If the center collapses easily when you squeeze it, the piece may need more felting.
However, there is no rule saying every sculpture must become extremely hard.
Different artists prefer different levels of firmness.
Consistency and stability matter more.
Common Beginner Problems
New felters commonly struggle with uneven shapes, soft cores, broken needles, oversized facial features, poor joins, and fuzzy surfaces.
These problems are normal.
You can avoid many of them by reading our guide to
common beginner needle felting mistakes.
What Should You Make Next?
Once you can create a firm ball and oval, you are ready for simple animals.
Try a penguin, owl, bunny, mouse, bear, cat, or puppy.
Animal lovers can find more suggestions in our list of
easy animals to needle felt.
Can You Teach Yourself Needle Felting?
Absolutely.
You can build your skills gradually through small projects.
Begin with shapes, then practice joining pieces, adding colors, creating faces, and eventually working with realistic details.
Our guide on
how to learn needle felting at home gives you a simple practice progression.
Start Creating With FeltMyPet
The key to learning needle felting is not speed or perfection.
It is understanding how wool responds to your needle.
Work slowly, stay safe, and choose projects that make you excited to practice.
Explore beginner kits, wool, felting tools, and animal-project inspiration from
FeltMyPet and start creating your first handmade wool project.