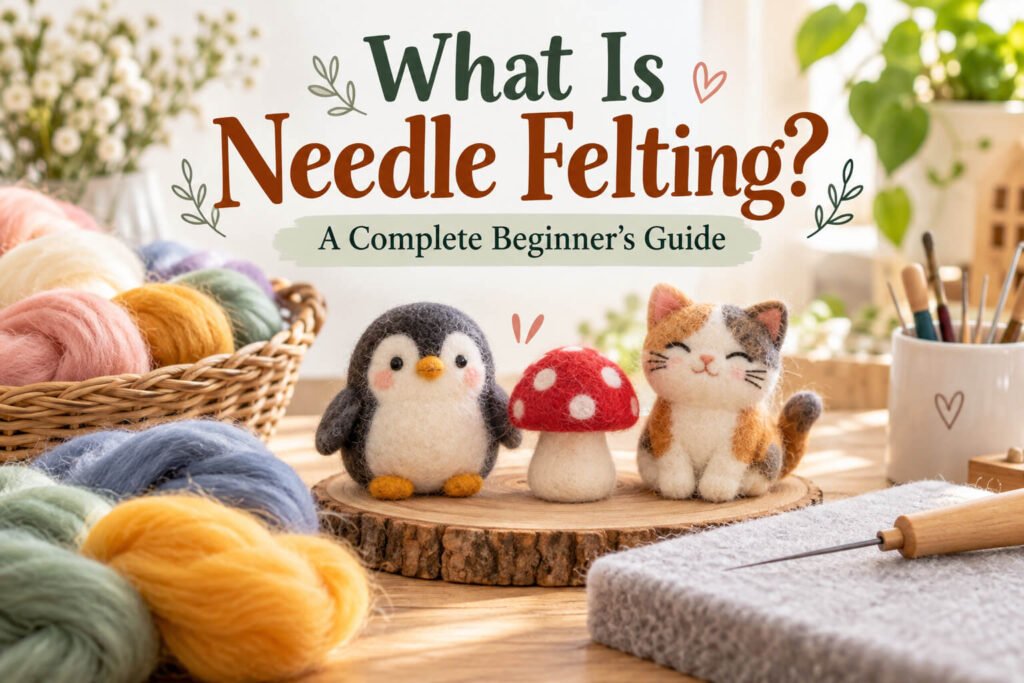
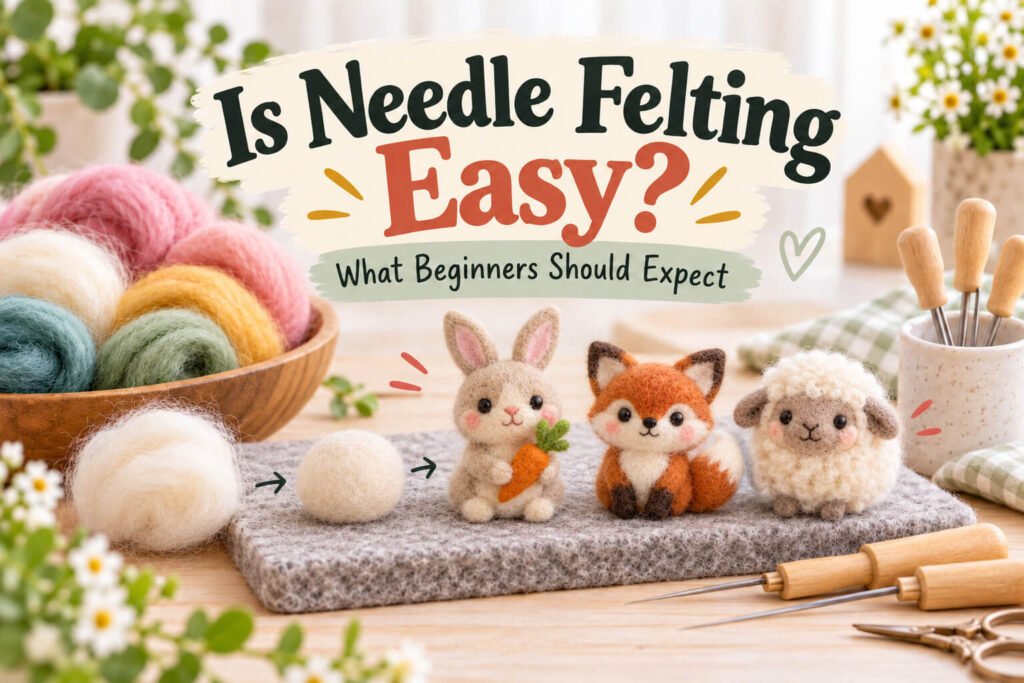
Starting needle felting can feel confusing because there are so many wool types, needle sizes, mats, kits, accessories, patterns, and tutorials available.
Fortunately, you do not need to understand or buy everything before you begin.
A simple setup is enough to teach you the fundamental skills.
If you want to go directly into the hands-on process, our
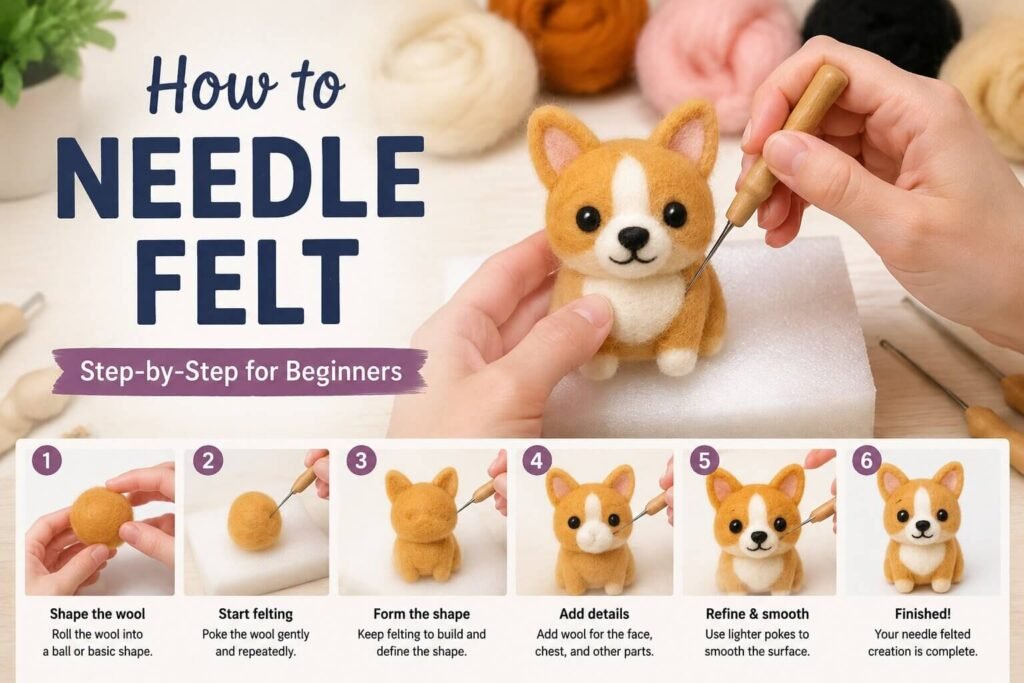
step-by-step needle felting tutorial for beginners shows you exactly how to make your first shapes.
Start With a Specific Goal
Before buying supplies, think about what you would like to make.
Do you want to create small animals?
Are you interested in realistic pet portraits?
Would you rather make ornaments or flat wool art?
Your answer helps determine which supplies and colors you need.
For beginners interested in FeltMyPet-style animal projects, a small rounded animal is an excellent starting point because it teaches several useful techniques without requiring complicated construction.
Buy Only the Essential Supplies
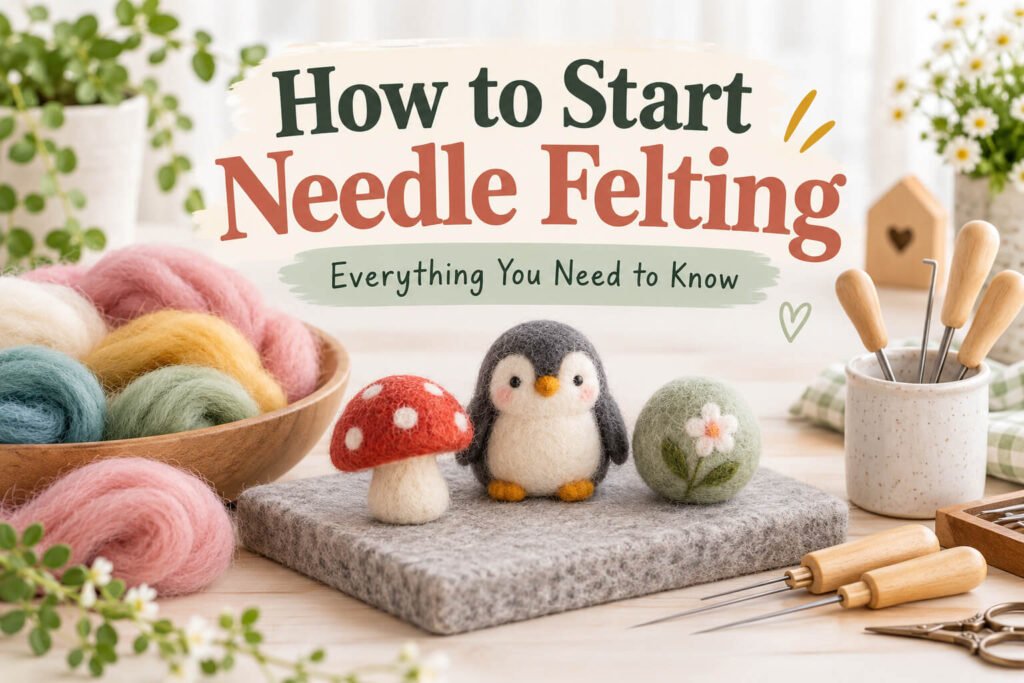
The three core supplies are wool, felting needles, and a felting mat.
You can add more specialized equipment later.
Choose Suitable Wool
For 3D sculptures, consider using core wool to build the main shape and colored wool for the surface.
Core wool does not need to be beautiful because it will eventually be covered.
Choose Actual Felting Needles
Ordinary sewing needles are not replacements for barbed felting needles.
A small selection of different needle sizes can make the process easier.
Use a Protective Work Surface
A foam or wool felting mat protects your table and gives the needle somewhere safe to travel.
For a complete beginner shopping list, see
what you need for needle felting.
Should You Buy a Needle Felting Kit?
A beginner kit can be convenient because it removes some of the decision-making.
Instead of choosing individual wool colors, eyes, and accessories, a project kit may contain most of what you need for one design.
Always check the package contents.
Some kits contain wool and instructions but expect you to own needles and a mat already.
Choose a Manageable First Project
Your first project should allow you to practice rather than struggle.
Good beginner designs include:
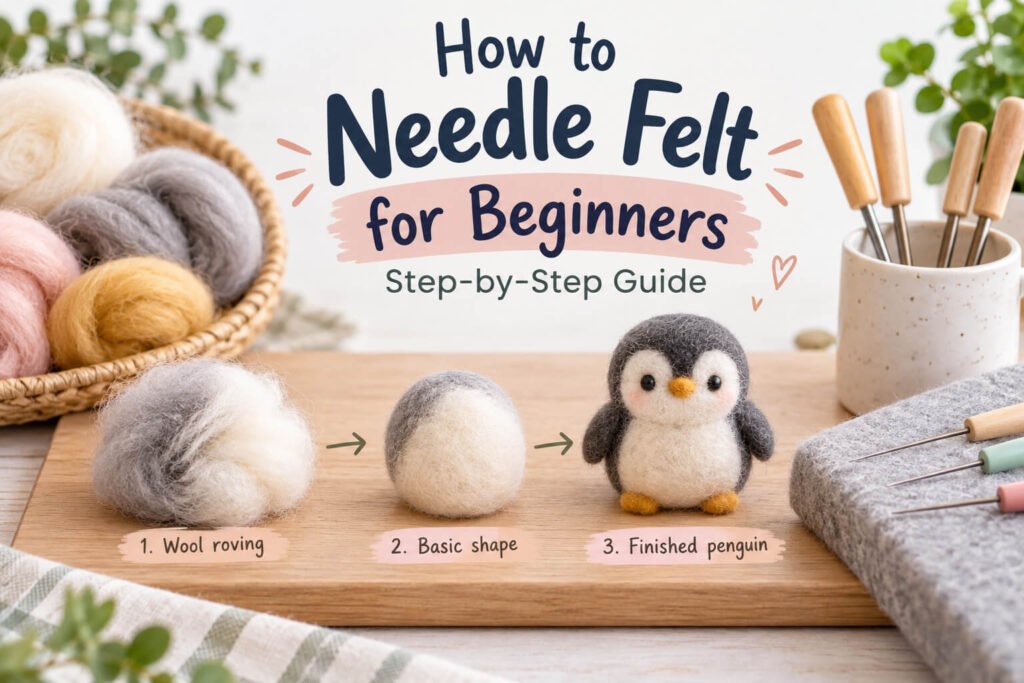
Penguin
Owl
Chick
Mushroom
Snowman
Sheep
Bunny
Simple bear
Avoid complicated long-legged animals or projects that depend heavily on wire armatures.
If you are unsure what to choose, our guide to
choosing your first needle felting project can help.
Learn the Correct Needle Motion
Good technique helps prevent broken needles.
Insert the needle into the wool in a controlled motion and pull it back out along the same general path.
Do not twist or pry it sideways while embedded.
Rotate your project frequently instead of forcing your wrist into awkward angles.
Learn to Build Shapes
Nearly every animal can be broken into simple forms.
A head may begin as a ball.
A body may begin as an oval.
A leg may start as a cylinder.
An ear might begin as a flat triangle or oval.
Learning to control these shapes gives you a strong foundation.
Build From Large Forms to Small Details
Beginners often become excited about adding eyes and noses.
However, facial details should usually come later.
First ask whether the body and head are proportioned correctly.
Check your project from the front, side, back, and top.
Once the main silhouette looks right, move into smaller details.
Use Small Amounts of Wool
Needle felting is easier when you build gradually.
A tiny amount of loose wool can become a surprisingly noticeable feature after it is compacted.
This is especially important for muzzles, cheeks, eyebrows, and paw pads.
Expect Wool to Shrink
Loose wool contains a lot of air.
As the fibers become denser, the finished piece becomes smaller.
Do not assume the size of your loose bundle is the final size.
Make Safety a Habit
Felting needles are very sharp.
Always keep your fingers away from the needle path.
Work on a stable surface and consider using finger protectors while you are learning.
Store unused needles securely so they are not hidden in wool or left where children or pets can reach them.
Do Not Worry About Speed
Your first project may take several hours.
That does not mean you are doing anything wrong.
Beginners naturally pause more often to examine the shape, check instructions, and decide what to do next.
Speed improves as your hand develops a better feel for the wool.
Learn Skills in a Logical Order
A useful progression is:
Basic shapes
Attaching pieces
Surface color
Simple facial features
Smoothing
Ears and paws
Fur texture
More realistic eyes
Armatures
Pet portraits
You do not need to master all ten at once.
Build Your Supply Collection Gradually
Do not purchase every type of fiber and tool on your first day.
Let your projects guide your collection.
For example, you might later discover that you need a reverse needle for fur, additional wool shades for a cat, or wire for a poseable animal.
That is a better way to build a useful craft setup.
Can You Learn Needle Felting at Home?
Yes.
Many crafters teach themselves through project kits, written tutorials, videos, and practice.
Our guide to
learning needle felting at home gives you a simple practice routine to follow.
Do Not Let Mistakes Discourage You
Your first projects may be uneven.
You may make one ear larger than the other.
You may use too much wool for a nose.
These are normal parts of learning.
Knowing the most common
beginner needle felting mistakes can make them easier to recognize and correct.
Start Small and Keep Building
You do not need expensive equipment or years of experience to start needle felting.
Choose a simple project, gather a small group of reliable supplies, and learn one skill at a time.
As your confidence grows, you can move toward more detailed animals and realistic pet portraits.
Explore beginner kits, wool, tools, and animal craft supplies from
FeltMyPet and begin your first project with a manageable setup.